
There is something about a fall afternoon that makes a little extra time in the kitchen feel well spent. The light comes through the window a little softer. A cup of coffee stays close by. And a recipe that asks us to slow down suddenly feels like exactly the right thing to make.
For us at Easy Peasy Pantry, baklava belongs on that kind of afternoon.
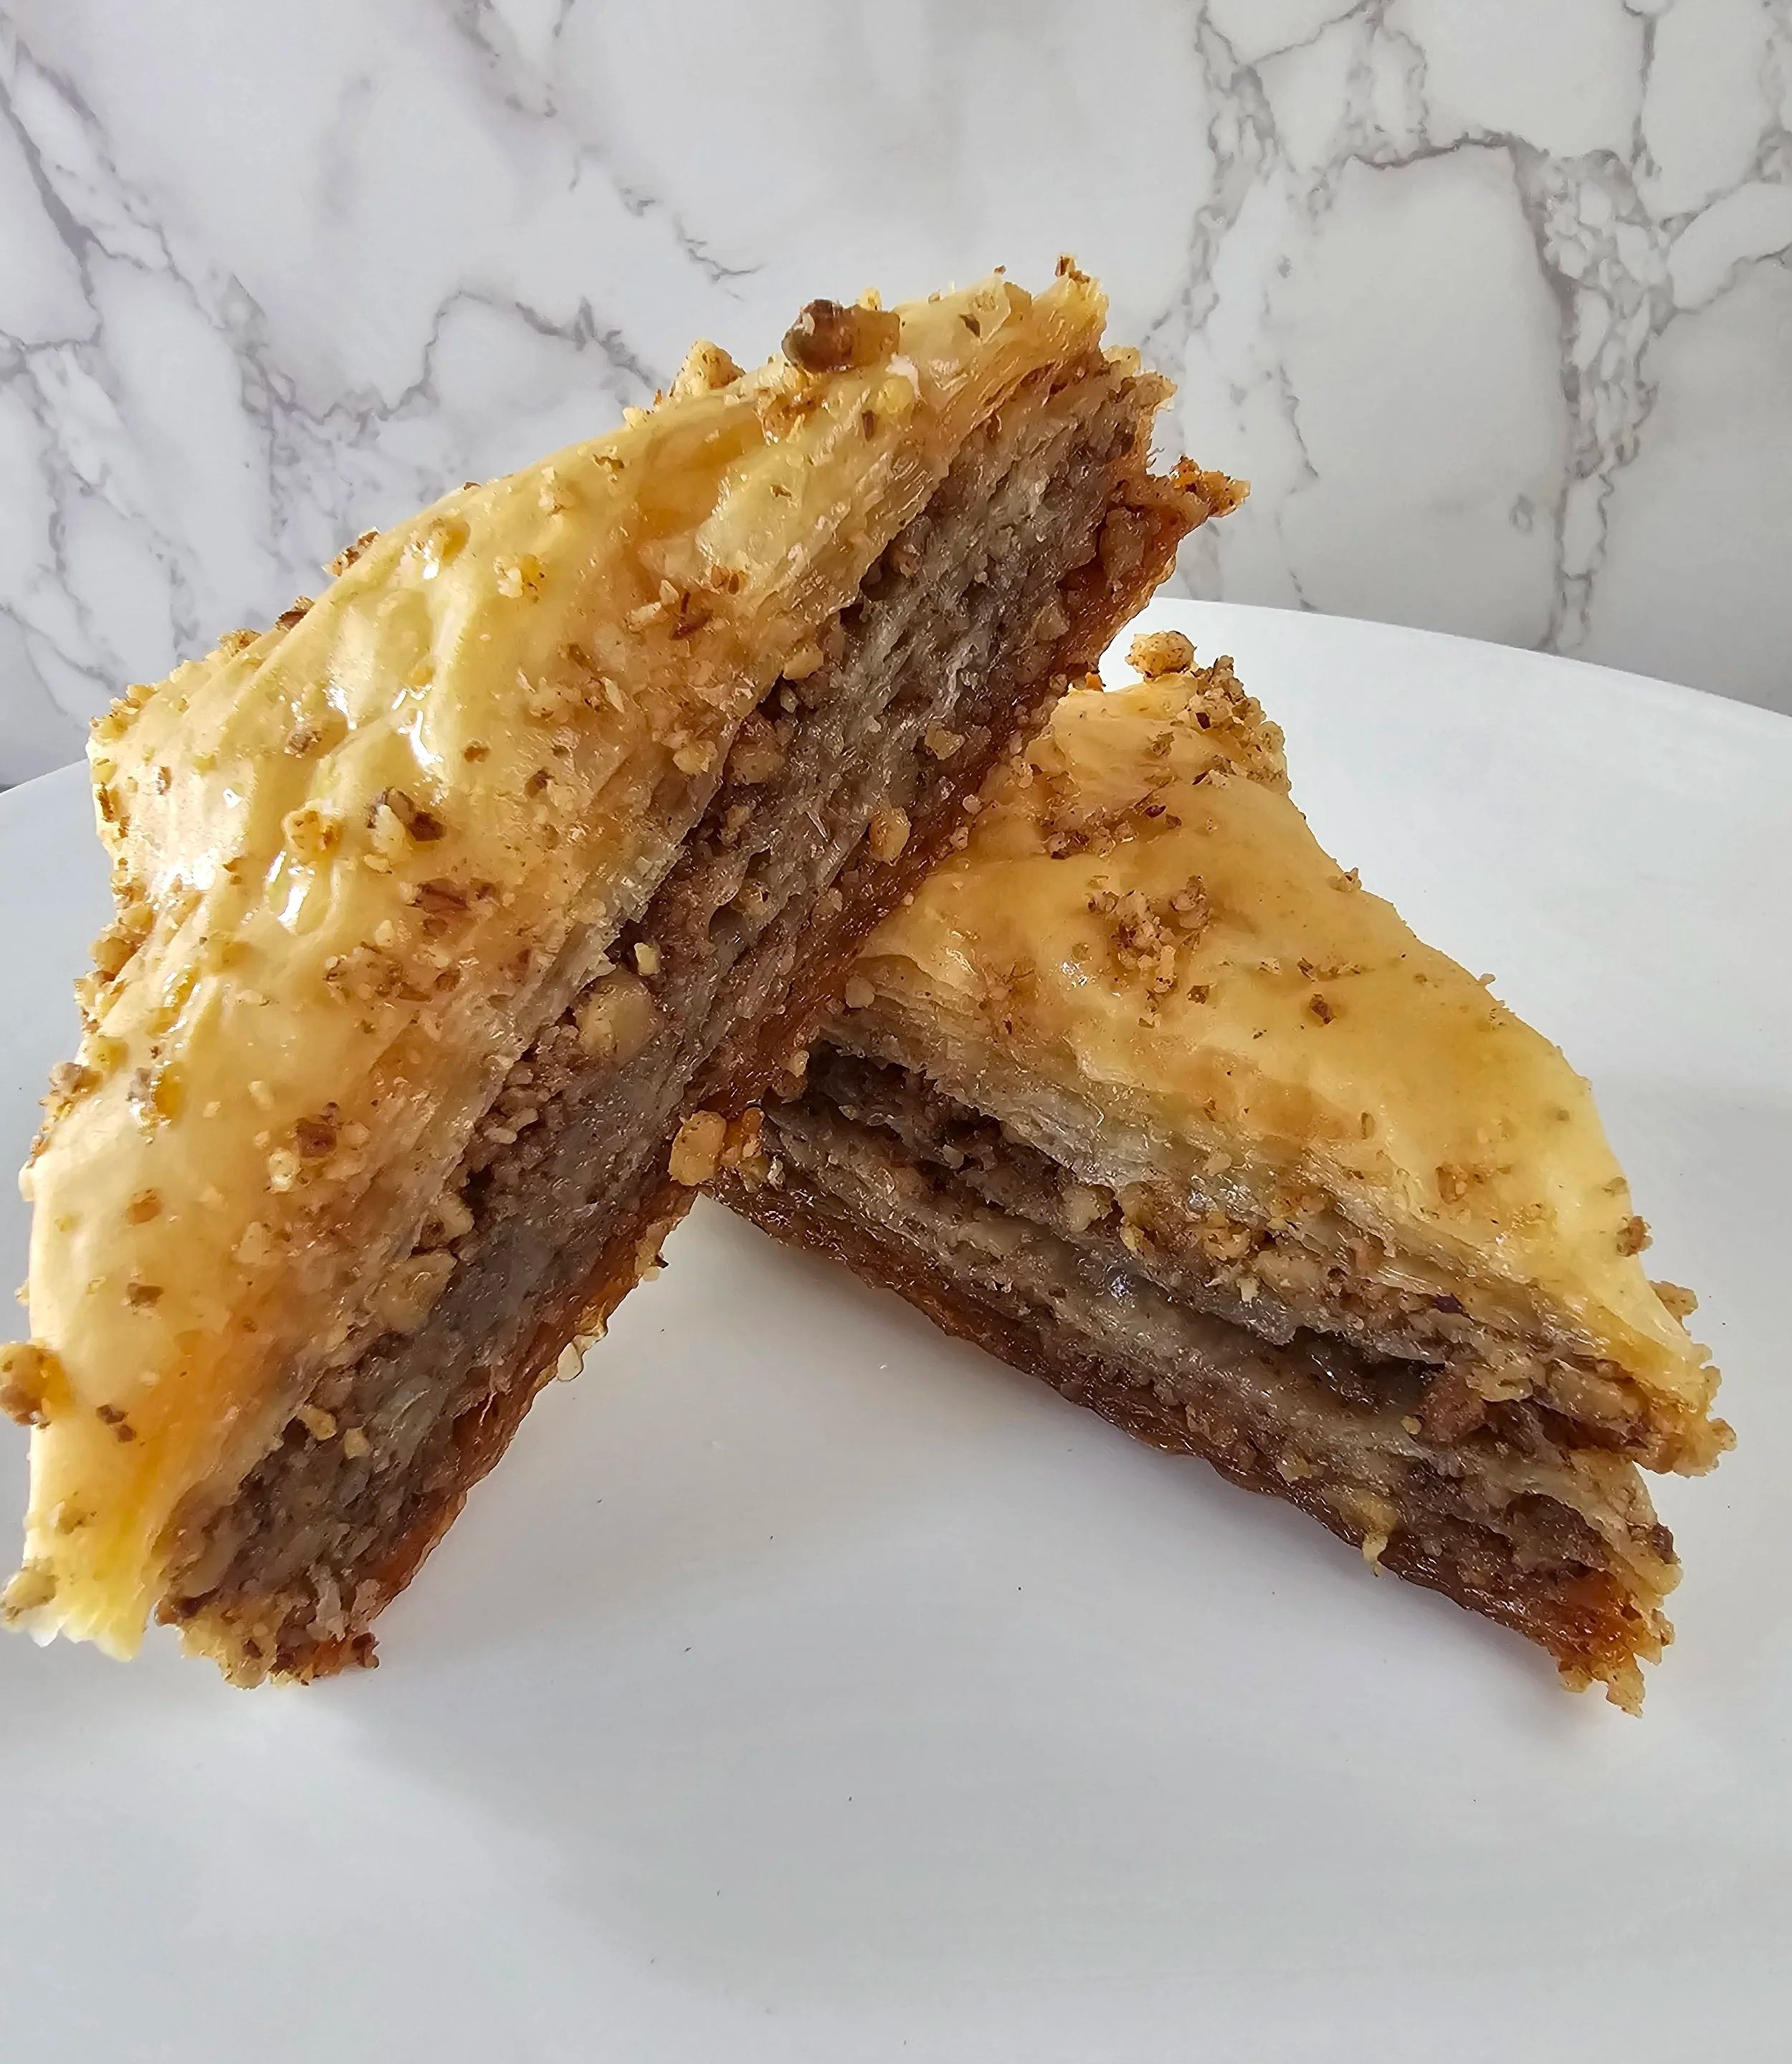
With its golden, delicate layers, toasted walnuts, warm cinnamon, and a whisper of honey, this dessert brings plenty to love. There is the first crisp bite, followed by the richness of butter and the gentle sweetness tucked into every layer. Then comes that walnut filling, giving each piece a little substance beneath all that beautiful, flaky pastry.
But before any of that happens, there is the making.
Sheet after sheet of phyllo. A brush dipped into melted butter. A scattering of walnuts. Another sheet. Another brushing.
The repetition is the heart of this recipe. Every delicate layer gets a little attention, and the finished baklava carries the evidence.
Settle Into the Rhythm
Baklava asks for patience, especially during assembly. The ingredients themselves are straightforward: phyllo dough, butter, walnuts, cinnamon, and a syrup made with sugar, water, honey, and lemon juice. The work comes in how those ingredients are brought together.
That is where the rhythm begins.
Lay down a sheet of phyllo. Brush it with butter.
Lay down another sheet. Brush it with butter.
Keep going.
At first, it may feel like quite a few steps between an empty baking dish and dessert. After a few layers, though, your hands find their way. The brush moves across the pastry, the stack slowly grows, and you begin to see how something so delicate can become something so substantial.
Give yourself room on the counter and enough time to enjoy the process. Baklava is a lovely excuse to put on some music, settle into the kitchen, and make something with care.
Start With the Syrup
Our recipe begins with the syrup so it has time to cool while the baklava is assembled.
Sugar, water, honey, and lemon juice come together in a saucepan, creating the sweet finishing touch that will eventually work its way through the baked pastry. The honey lends its familiar flavor, while the lemon juice brings a little brightness to all that buttery richness.
We love that whisper of honey alongside walnuts and cinnamon. It gives the dessert a warmth that feels right at home in fall, especially with a cup of strong coffee or hot tea.
Once the syrup has cooked according to the recipe, set it aside to cool. Having it ready before you start layering makes the rest of the process easier. When the baklava comes out of the oven, you will want that syrup close at hand.
Toasted Walnuts and a Little Cinnamon
Walnuts bring a deep, nutty flavor to baklava, and toasting them adds another welcome layer of flavor.
Let toasted walnuts cool before finely chopping them and combining them with cinnamon. Aim for small, fairly even pieces that will spread easily across the pastry. You want a filling that settles into an even layer, with enough texture to give every bite that lovely walnut crunch.
The cinnamon adds warmth without needing to take over. Together, the walnuts and cinnamon give the filling a fragrant, comforting character that makes this dessert especially inviting as the weather cools.
Take a moment to spread each portion of filling evenly when you assemble the pan. A thick mound in the middle and bare corners will carry through to the finished pieces. A gentle, even scattering helps every slice get its share.
Working With Delicate Phyllo
If phyllo dough feels a little intimidating, start by getting everything ready before opening the package.
Have your baking dish buttered, your filling mixed, your butter melted, and your pastry brush within reach. Every baking pan is different, so measure your pan and trim all of your phyllo to fit inside your unique pan. Trimming can be done all at once with a sharp knife.
Keep the thawed phyllo covered while you work, using plastic wrap with a barely damp towel over it to help protect it from drying out. Avoid letting a wet towel sit directly against the pastry.
Then work with one sheet at a time.
Phyllo is thin and delicate, so an occasional tear is nothing to lose sleep over. Place the sheet in the pan, smooth it gently, and keep building. Small tears in the inner layers are usually covered by the sheets above them.
The goal is steady, careful work. You do not need to handle every sheet perfectly to make a beautiful pan of baklava.
Butter Between Every Layer Is a Must
Here is the step that deserves your full attention: brush butter between every single sheet of phyllo.
Every sheet.
It is tempting to stack a few sheets together and brush only the top, especially once you have been standing at the counter for a while. But buttering each layer is essential to the texture we are after.
Those individual sheets need that thin coating of butter to bake into distinct, delicate layers. Skipping sheets can leave sections stuck together, losing some of the flaky texture that makes baklava so satisfying.
Use a light hand with the brush. You want an even coating across the sheet, reaching the edges and corners without leaving puddles. There is no need to press hard against such delicate pastry.
Our recipe starts with 10 sheets of phyllo, each buttered individually, to build the base.
One sheet. Butter.
Another sheet. Butter.
All the way through that first stack.
Already, before the walnuts even go in, the character of the dessert is taking shape.
Layer, Butter, Scatter, Repeat
Once the base is built, the walnut filling joins the rhythm.
Spread about three-quarters of a cup of the walnut mixture evenly over the pastry. Follow it with five sheets of phyllo, brushing butter between each sheet.
Then return to the walnuts.
Another even scattering. Another set of delicate sheets. Another brushing of butter between every one.
This is the stretch of the recipe where the labor of love becomes clear. The pan fills slowly, through a series of small, repeated actions. Each one is simple, but each one matters.
Keep the filling even. Reach the corners with the butter. Lay the next sheet gently.
As you repeat the layers, resist the urge to hurry through the middle. The layers you cannot see deserve the same care as the ones that will finish the top. They are the ones you will discover later, when a fork breaks through a finished piece and reveals the walnut filling tucked between the pastry.
Finish with 10 more sheets of phyllo, buttering each one, then brush the very top with butter.
By now, you have earned a moment to stand back and admire the pan. But there is one more essential step before it goes into the oven.
Cut the Baklava Before It Bakes
Always cut the assembled baklava before baking.
While the phyllo is still soft, you can cut through the layers with much more control. After baking, those same sheets become crisp and fragile, making them far more likely to shatter under a knife.
Our recipe calls for cutting the baklava into squares and then into triangles.
Use a sharp knife and work carefully through all the layers to the bottom of the pan. Take your time, particularly around the edges, where a sheet may try to pull along with the blade.
These cuts establish your serving pieces before the pastry turns golden and crisp. They also create paths for the syrup to reach down through the baklava after baking.
It is a small step with a big effect on how the dessert finishes and serves. Give it the same care you gave the layering.
Bake Until Beautifully Golden
Our baklava bakes at 325°F for about one hour and 15 minutes, or until the top is golden brown.
As it bakes, the kitchen begins to smell like butter, walnuts, and cinnamon. The top sheets turn crisp, their edges lifting into delicate flakes. That pale stack of pastry becomes the golden dessert you have been working toward.
Watch the color as well as the clock. You want a properly baked, golden top, giving the pastry time to develop its texture.
This is a good time to clear the counter, put away the pastry brush, and make sure the cooled syrup is ready.
The next step happens as soon as the baklava leaves the oven.
Listen for the Sizzle
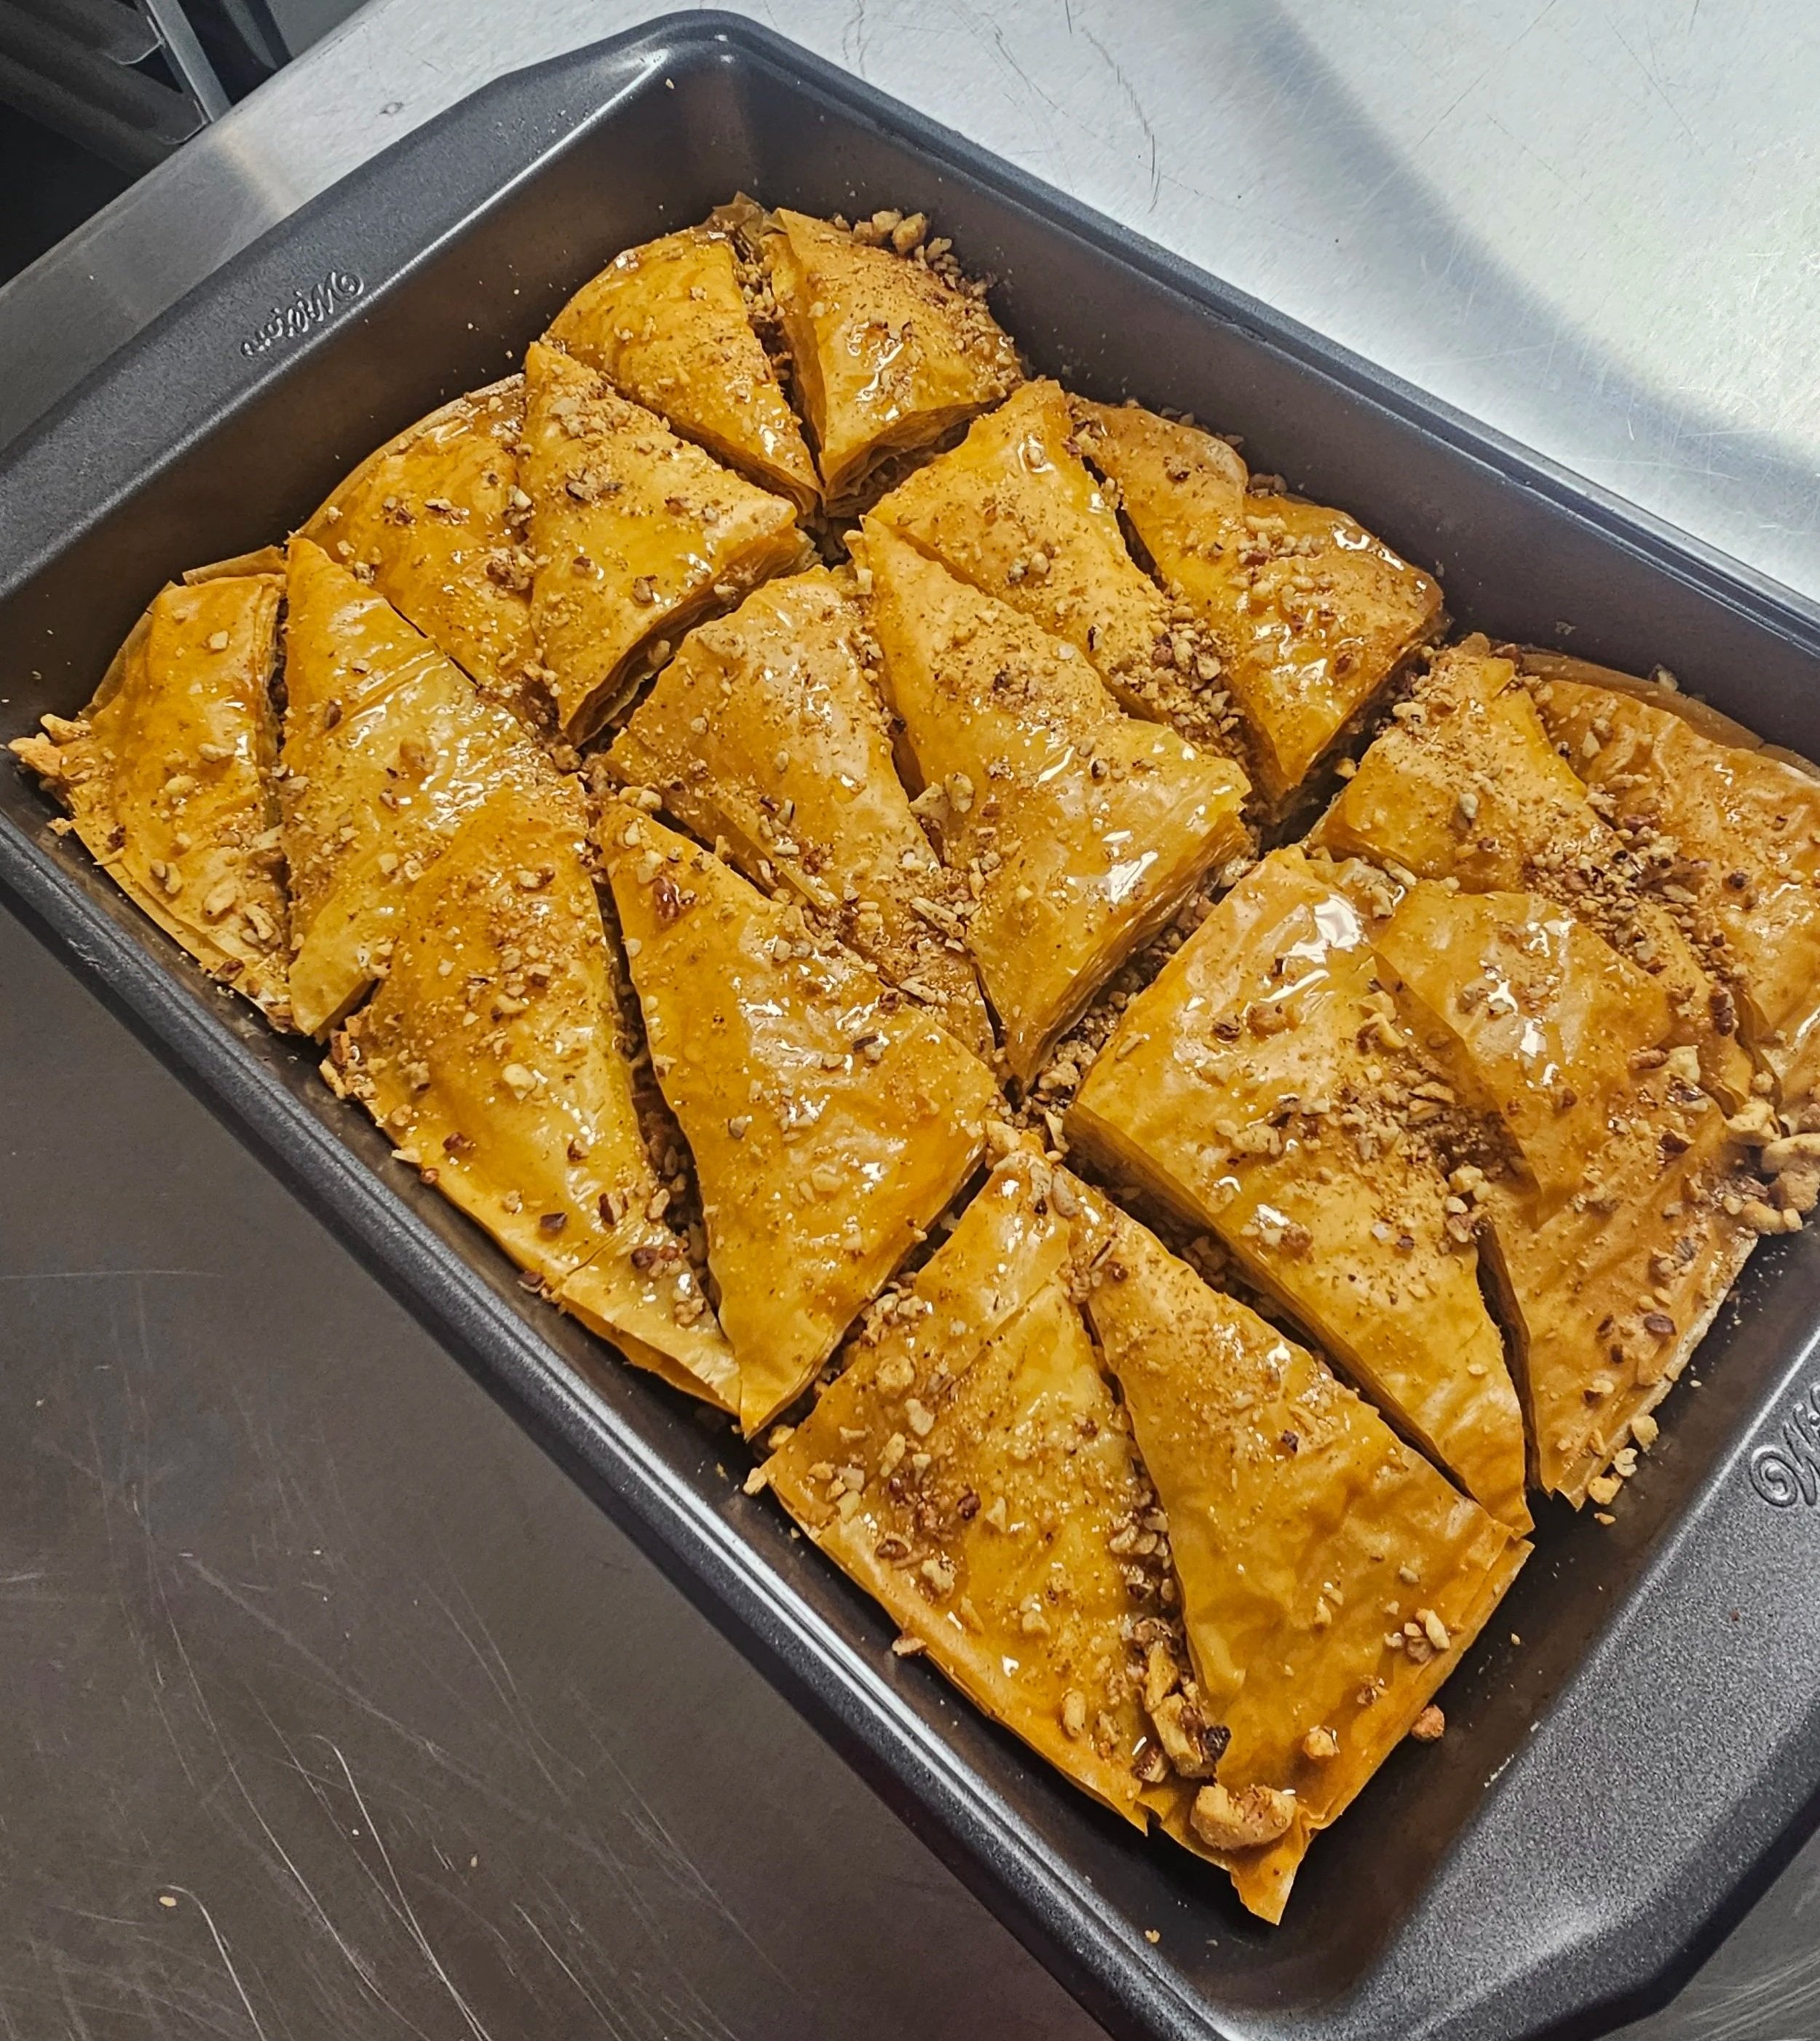
Pour the cooled syrup over the hot baklava immediately after baking.
Then listen.
That sizzle is one of the best moments in the whole process.
Pour evenly across the pan, giving attention to the edges and the cut lines as well as the center. The syrup begins working its way into the hot pastry, bringing honeyed sweetness to the layers you built so carefully.
The top glistens. The kitchen smells wonderful. And after all that patient assembly, the temptation to reach for a piece is strong.
There is still some waiting to do.
Give It the Night
Our recipe calls for an overnight rest so the syrup has time to soak through the baklava.
Let the pan cool before covering it for that rest. Covering it while it is still hot can trap steam against the pastry.
Overnight, the syrup settles into the layers and the flavors come together. The walnuts, cinnamon, butter, and honey have time to become a finished dessert, ready to be lifted from the pan and shared.
That resting time also makes baklava a welcome choice for fall entertaining. Prepare it the day before, give it the time it needs, and have dessert waiting when your guests arrive.
Serve modest pieces with coffee or tea. Baklava is rich, and a small triangle offers plenty of buttery pastry, walnut filling, and honeyed sweetness to savor.
Baklava with Walnuts & Honey
Delicate layers of buttery phyllo, finely chopped walnuts, and warm cinnamon, finished with a fragrant honey and lemon syrup. A labor of love worth every layer.
Yield: One 9 × 13-inch pan; 12 servings • Bake time: Approximately 1 hour and 15 minutes • Resting time: Overnight
Ingredients
For the baklava
16 ounces phyllo dough, thawed according to package directions and trimmed to fit your pan size
2 ½ sticks (10 ounces) unsalted butter, melted, for brushing the pan and every layer
16 ounces walnuts, finely chopped
1 teaspoon ground cinnamon
For the honey syrup
1 cup granulated sugar
¾ cup (6 fluid ounces) water
½ cup (4 ounces) honey
2 tablespoons lemon juice, freshly squeezed
Method
Prepare the syrup.
Combine the sugar, water, honey, and lemon juice in a medium saucepan. Bring to a boil, reduce the heat, and simmer gently for 4 minutes without stirring. Remove from the heat and set aside to cool while you assemble the baklava.Prepare the oven and pan.
Preheat the oven to 325°F. Brush the bottom and sides of a 9 × 13-inch baking dish generously with melted butter.Mix the filling.
Stir together the finely chopped walnuts and cinnamon.Build the bottom layers.
Place one sheet of phyllo in the prepared pan and gently brush it with melted butter. Repeat until you have 10 sheets, buttering every sheet individually. Keep the unused phyllo covered as you work to prevent it from drying out.Add the walnut layers.
Sprinkle approximately ¾ cup of the walnut mixture evenly over the buttered phyllo. Cover with 5 sheets of phyllo, brushing each sheet with butter. Continue alternating walnut filling and groups of 5 individually buttered sheets until the filling is used, reserving 10 sheets for the top.Finish the top.
Add the final 10 sheets of phyllo, brushing butter between every layer. Brush the top sheet with butter, including the edges and corners.Cut before baking.
Using a sharp knife, cut through all the layers into squares, then cut the squares diagonally into triangles. Do this before the baklava goes into the oven, while the pastry is still soft and easier to slice.Bake until golden.
Bake for approximately 1 hour and 15 minutes, or until the top is golden brown and crisp.Pour on the syrup.
Remove the baklava from the oven and immediately pour the cooled syrup evenly over the hot pastry, including along the cut lines. Listen for the sizzle!Rest overnight.
Allow the baklava to cool completely, then cover and let it rest at room temperature overnight so the syrup can soak through the layers.
Easy Peasy Pantry Tips
Butter every sheet. That patient brushing helps create the delicate, flaky layers that make baklava so delicious.
For toasted walnut flavor: Toast the walnuts before chopping, then cool completely before mixing with cinnamon.
Handle phyllo gently. Small tears in the inner sheets are fine; simply lay them in place and continue.
Check your sheet count before starting. Phyllo sheet sizes and counts vary by package. Trim to fit your pan and make sure you have enough for the layering pattern.
Gather Your Tools
A little patience, plenty of butter, and a few trusty kitchen tools—that’s how those beautiful layers begin. Here’s the equipment to help you bring this baklava together.
This section contains affiliate links. As an Amazon Associate we earn from qualifying purchases.
Baking Pan — Choose the pan size listed in our recipe so your layers bake as intended. (9×13)
Pastry Brush — For brushing melted butter between every delicate layer of phyllo. Every layer deserves a little love!
Sharp Chef’s Knife — For cutting your baklava before it goes into the oven, an essential step for beautiful, easy-to-serve pieces.
Food Processor — Makes quick work of chopping the toasted walnuts. Pulse gently for small pieces rather than walnut paste.
A Fall Afternoon Well Spent
There are plenty of reasons to love the finished dessert, but we love the making, too.
We love the quiet repetition of sheet after sheet. The care of brushing butter all the way to the corners. The scattering of walnuts before beginning again.
And we love knowing that something so beautiful started with a few simple ingredients and the willingness to take our time.
This fall, leave a little room for that kind of baking. Set out the butter, ready the walnuts, and let the layers build slowly.
Brush every sheet. Cut before baking. Listen for the sizzle.
Then give your baklava the night to become everything you worked for.